Are your records not sounding how you want them to? Are you becoming increasingly frustrated and want to fix that? How do you get a properly clean stylus? And can you do it all at home?
All this and more today as we explore four central methods for cleaning your stylus at home and at your own behest.
Table of Contents
- Why is a Clean Stylus Important?
- Some Tips & Tricks
- Cleaning with Stylus Brush & Alcohol
- Cleaning with Stylus Cleaning Gel
- Cleaning with Liquid Stylus Cleaner
- Cleaning with a Melamine Eraser
- Final Tones
- FAQs Clean Stylus
Why is a Clean Stylus Important?
Most important of all is the fact that a dirty stylus can significantly impact the resulting audio quality. Cleaning a stylus tip regularly can help to ensure that your turntable is playing your favorite music at peak performance. If a turntable is not working properly, it will be the turntable stylus that a technician will turn to first.
The telltale signs include scratching or popping sounds when records are played. This can just as well be caused by the vinyl records you are playing – particularly old records are likely to have obtained a few bumps over the years. However, if this dip in sound quality keeps happening even when you play new records or thereabouts, you will need to inspect the stylus.
Record skipping is another key symptom of a dirty stylus. Indeed, if a stylus is dirty enough, it can quickly make the needle jump all over the place, causing the record to skip gravely from place to place against your will.
Keeping your stylus clean is a sure-fire way to extend its life. Prolonged exposure to dirt and grime is likely the most common reason for a stylus needing to be replaced. By cleaning a stylus regularly, you can ensure that this does not happen anywhere near as often as it otherwise might.
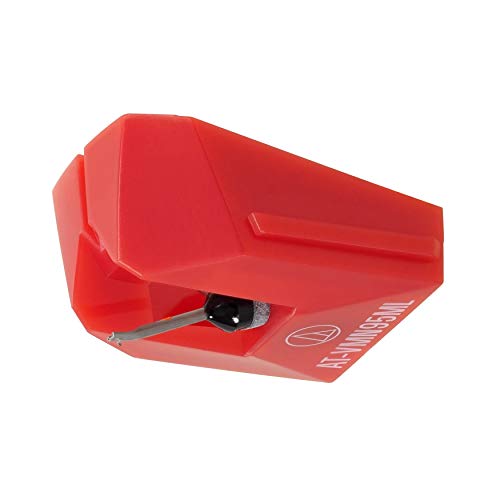
This can save you a hell of a lot of money in the long run, depending, of course, on how expensive you like your styluses to be. Replacing something like this by Audio-Technica will not be inexpensive.
Some Tips & Tricks
Before we get on to the cleaning process, it is worth noting some of these tips to truly get yourself in the record grooves.
- It is worth cleaning the stylus around once a week. This will depend on how frequently you listen to records, though doing it once a week is still a safe bet.
- Most styluses worth their salt will last for around 1000 hours of listening. Thus, the first you hear any static, the stylus will likely need cleaning.
- When using a stylus brush, you are best advised to make sure that you are brushing in the direction that the record spins, lest you do some serious damage to the stylus.
- Even if the record appears clean to the naked eye, you are advised to clean it before playing it for the first time. This will ideally be done with an anti-static record brush to ensure that no dust or static is left lurking in the grooves that might transfer onto the stylus.
- If you are going to use a stylus brush, you should use a cleaning solution. You can easily make a solution yourself, though you are best advised to buy a dedicated stylus cleaner, lest you do more damage to the stylus with a harmful cleaning fluid.
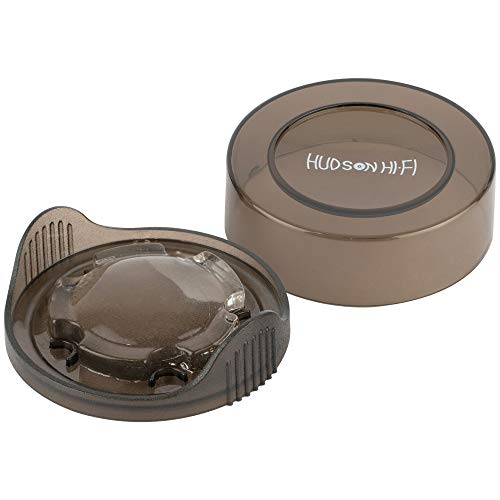
- Of course, if this is too much contact, you can always use a stylus-cleaning gel pad. This method is likely to cost a little more, but many believe it to be better for the sanctity of the stylus than the sometimes-harsh stylus cleaning brush.
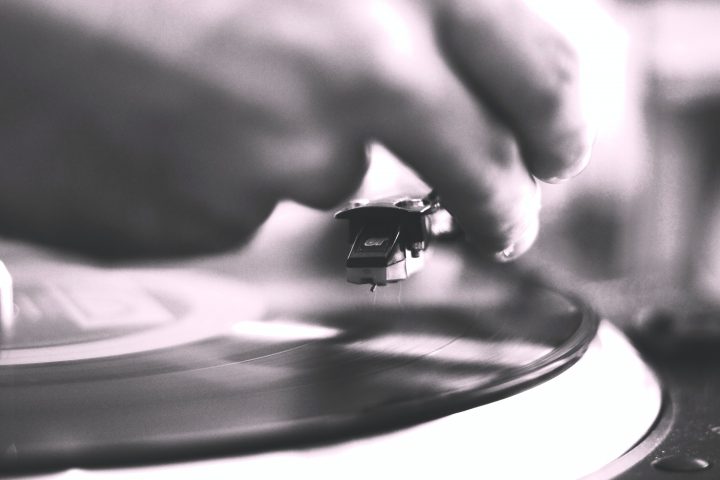
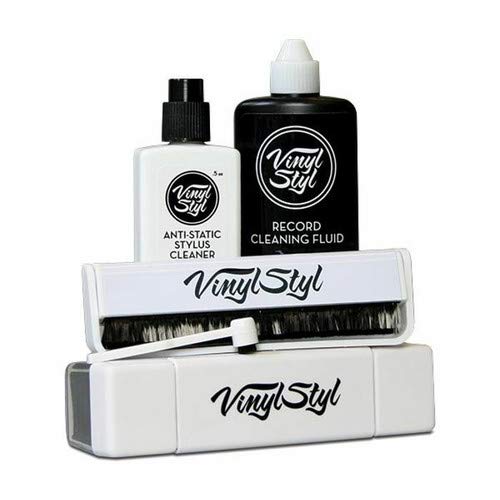
Cleaning with Stylus Brush & Alcohol
If this is your desired method, then use the following steps to guide you on your way:
- Clean the dust from the turntable using a soft bristle brush and a vacuum cleaner (or, in other instances, an air compressor).
- Moisten a cloth with a solution of liquid soap and water and clean the housing, making sure that the cloth is not so damp as to do damage to those sensitive parts.
- Clean the rest of the turntable with the soft bristle brush, including the platter, the speed selector switches, the size selector, speed selectors, control buttons, and audio outputs.
- Blow these parts gently with an air compressor to reveal and get rid of any stray dust.
- Continue cleaning the tonearm by preparing a solution of 70% isopropyl alcohol.
- Gently wipe the tip of the needle, using a needle rush or a stiff brush with short bristles to cry it clean afterward.
- Brush the needle in your direction from back to front. In the same way and using this method, clean the stabilizer with the brush. Ideally, you will repeat this process each time you hear a record (completely unrealistic if you ask me).
- Clean the needle with a needle brush that is dipped in the isopropyl alcohol. This is the recommended cleaning solution for this method of cleaning as it will get the job done without harming any of the inner mechanisms.
Cleaning with Stylus Cleaning Gel
You can also clean the stylus with a specialized cleaning gel. Many audiophiles believe this method to be more attuned to the highly sensitive nature of the needle, more than a liquid stylus cleaner, anyhow.
The use of these products is relatively simple, though owing to the various different manufacturers of such products, it would be best to follow the specific guidance on the packaging.
Most of these kinds of products will simply require you to lower the stylus onto a gel pad, repeating the process until the stylus is clean and stops leaving a residue on the pad. This residue is precisely the kind of dirt and grime you should have locked in your sights.
The real grab of this kind of method is the fact that there is little to no risk of harming other parts of a turntable with a liquid cleaning solution.
Of course, this method neglects one of the most important parts of caring for your own turntable, namely cleaning the records themselves. It is all well and good cleaning the stylus, but if you are not cleaning the records, then the dirt, grime, and static on these discs are quickly going to implant themselves back into the stylus.
Cleaning with Liquid Stylus Cleaner
For all the benefits of using gel pads as above, some say that you simply cannot beat using a liquid stylus cleaner for optimum sound quality.
- You are ideally going to want to follow the dedicated instructions in the cartridge manual and the instructions pertaining to the cleaning solution – these are just rough guidelines.
- Use a bristle brush or another kind of stiff brush with short bristles for dry cleaning, brushing it in your direction from the back of the needle to the very front.
- Clean the stabilizer with the same brush movement – if, indeed, it exists on your turntable. Common guidance on this topic suggests that you do this every time you listen to a record, advice that likely comes from someone who does not have to deal with any worldly interruptions like having a life and friends.
- Dip the softer brush that is included with the stylus cleaner in the liquid solution and clean the stylus gently. If too much of this liquid penetrates the outer layer and eeks its way into the turntable’s inner mechanisms, this can lead to irreparable damage.
- Brush the needle with the soft brush in your direction again, from the back of the needle to the front, until you deem it clean enough to stop worrying about it anymore.
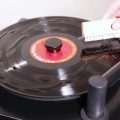
Cleaning with a Melamine Eraser
You can, alternatively, use a clean magic eraser to clean the stylus clean. This kind of product can easily be found in any hardware store or, otherwise, on Amazon.
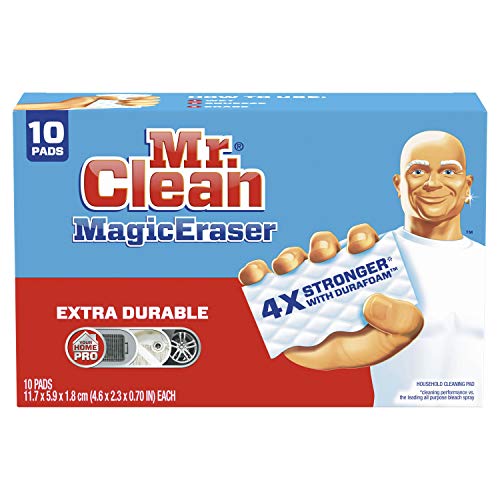
You will want to start by cutting off two square inches of the magic eraser. Then, proceed to place the square of the magic eraser onto the platter, plinth, or anywhere else the tonearm can easily reach without reaching too far.
Lower the stylus gently onto the eraser, repeating the process until the stylus is entirely clean and, as with the cleaning gel, stops leaving residue on the eraser.
Perhaps, you even have a magic eraser lying around the house already, in which case, get busy with it. While it is not specifically designed for this kind of thing, it can still do a reasonably good job of it, especially if you cannot afford to go out and buy a dedicated cleaning solution.
Final Tones
So, there you have it! Hopefully, you are now feeling better able to clean your own stylus and have become otherwise well-equipped to diagnose when your stylus needs a proper clean in this way. Take this knowledge and spread it evenly.
FAQs Clean Stylus
How do you clean a stylus yourself?
There are a number of methods you can use to clean a stylus yourself, some that you might even already have lying around your home. If, for example, you already own a melamine eraser, then you are well on your way to being able to clean your stylus. Now, do not panic, for this is not the melamine eraser’s only name – in fact, it is better known as a magic eraser. Sound familiar? If not, you can always use some isopropyl alcohol you might have lying around.
Can I use isopropyl alcohol to clean a stylus?
Indeed, you can. You would be best suited to using a solution that has around 70% isopropyl alcohol mixed with water. Any stronger solution than this might be a little too much for the needle to take and might actually dry out some of the parts. Also, you can’t just go around spraying isopropyl alcohol at the parts. You will want to implement these solutions with a soft cloth and a harsher cloth that can do a better job of actually drying the parts.
How do you clean a stylus needle?
There are a number of methods for cleaning a record stylus, four of which will be detailed below. One included the use of a dedicated stylus brush and isopropyl alcohol; another might involve the use and implementation of a dedicated stylus cleaning gel that can remove just about any dirt or grime. There is yet another method for cleaning the stylus, which involves going out and buying a dedicated cleaning solution for the purpose. Alternatively, you can use a melamine eraser – better known as a magic eraser – which you might already have at home.